 |
 |
 |
 |
|
 |
||
 |
 |
 |
 |
 |
 |
 |
 |
|
 |
 |
|
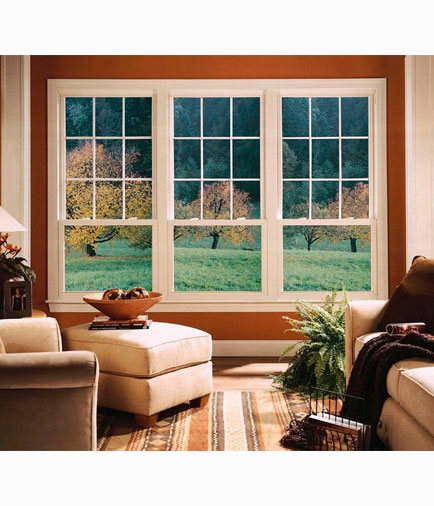
Transform your space with unrivaled clarity and precision-our expert window installation and replacement service is not just about fitting glass into frames; it's about crafting an experience that maximizes energy efficiency, enhances aesthetic appeal, and elevates your home's value-imagine sunlight streaming through expertly installed windows that perfectly blend durability with style, creating a seamless barrier against the elements and ensuring that your home remains a sanctuary of comfort and elegance; trust in our unparalleled expertise and commitment to quality, because when it comes to installing windows, we don't just meet expectations-we shatter them.
https://www.familyhandyman.com/list/how-to-install-new-windows-and-flash-them/?srsltid=AfmBOoprN_BTBnYgwm6D4CEqZv8zWIHL2NIyCbL2TvzTq5quseTDy8li
How to Install New Windows and Flash Them - Cut Out the Opening - Angle-Cut the Corners - Fold Back the Flaps - Slope the Sill With Siding. https://answers.microsoft.com/en-us/windows/forum/all/installing-windows-on-new-customer-pc-the-proper/709e84d5-67ff-48a5-af79-0e029de469fe
99% of the time Windows will automatically install of the required drivers anyway and nothing else will need to be done after this. https://www.reddit.com/r/buildapc/comments/zqumkk/how_does_one_go_about_installing_windows/
Comments Section ... Buy a windows key and a USB stick with at least 8GB of capacity. Download the Windows Media Creation Tool for Windows 10 or ...
|